A Screw Conveyor is an essential piece of equipment for moving bulk materials such as powders, pellets, and granules in industries including plastics, food, and chemicals. Proper installation is critical to ensure smooth operation, safety, and long service life. Below is a step-by-step guide on how to install a screw conveyor correctly.
Step 1: Prepare the Installation Site
Before installation, select a flat, stable surface capable of supporting the conveyor’s weight and material load. Ensure there is enough clearance for both the feeding hopper and the discharge outlet to align with other machines in the production line.
Step 2: Assemble the Frame
Place the conveyor’s base frame in position. Make sure it is level using a spirit level. Secure the frame firmly to the ground with bolts or anchor plates to prevent vibration or movement during operation.
Step 3: Mount the Tube and Screw
Attach the conveyor tube to the frame, ensuring it is aligned correctly at the designed angle. Insert the screw blade carefully into the tube, making sure it rotates smoothly without contact against the tube walls. Proper alignment reduces wear and extends service life.
Step 4: Install the Motor and Drive
Position the motor and gearbox at the designed location, usually at the upper end of the conveyor. Connect the motor shaft to the screw shaft using couplings. Ensure all bolts are tightened and that the motor is firmly mounted for stable operation.
Step 5: Connect the Feeding Hopper
Attach the feeding hopper securely to the bottom end of the conveyor tube. The hopper should be aligned to allow easy loading of materials and minimize spillage. Check that the welds or fasteners are firm.
Step 6: Align the Discharge Outlet
Position the discharge outlet where materials will flow into the next machine or storage container. Ensure the outlet is properly aligned to prevent blockages or overflow.
Step 7: Check Electrical Connections
Wire the motor to the power supply according to the manufacturer’s specifications. Include appropriate safety switches and emergency stop controls. Verify that the power source matches the motor’s voltage and frequency.
Step 8: Test Run
Perform a no-load test by running the screw conveyor without material. Listen for unusual noises and check for smooth rotation. Once verified, gradually add material to ensure proper feeding and discharge performance.
Step 9: Final Adjustments
Tighten any loose bolts, recheck alignments, and confirm that safety guards are installed. Routine inspections after installation will help maintain long-term performance.
Why Choose HONGQI Screw Conveyors
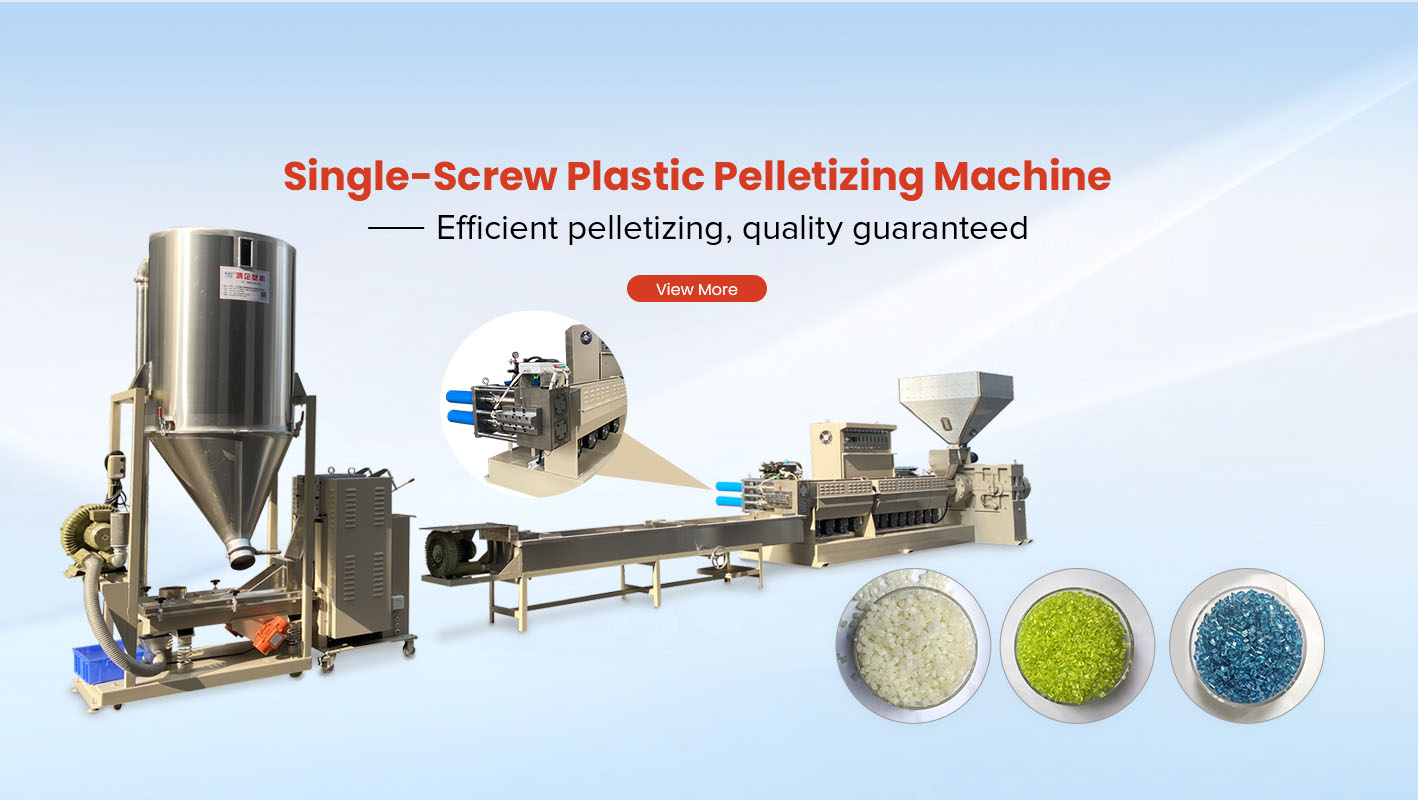
At HONGQI Plastic Machinery, we combine over 20 years of experience with advanced CNC machining to ensure precise manufacturing and reliable performance. Our screw conveyors are available in multiple capacities (800–2000 KG/HR) and are designed for easy installation, stable operation, and seamless integration into pelletizing and recycling lines. Customers worldwide trust us for durable equipment and responsive after-sales service. If you have any questions, please contact us.